Getting Started with iOS
This guide will walk you through setting up an example iOS project that includes the iroh swift module. We'll use it to join a document created on a computer from the iroh console.
Create a new Xcode project
Make sure you have xcode installed, and have run xcode-select --install to install the command line tools.
Next, create a new Xcode project. Select "App" under "iOS" and click "Next". You'll need to fill in a few details for your example project. Given this is a starter project, we'll call it "Iroh Example" and set the organization identifier to "com.example.iroh". You can leave the rest of the fields as their defaults.

If you want to publish this app, be sure to pick a usable, permanent name and organization identifier.
Import the iroh swift module
Select File > Add Packages... to pull up the swift package management window. In the upper right corner paste https://github.com/n0-computer/iroh-ffi into the search bar and hit enter. You should see the iroh-ffi package appear in the list below. Click "Next" to continue.
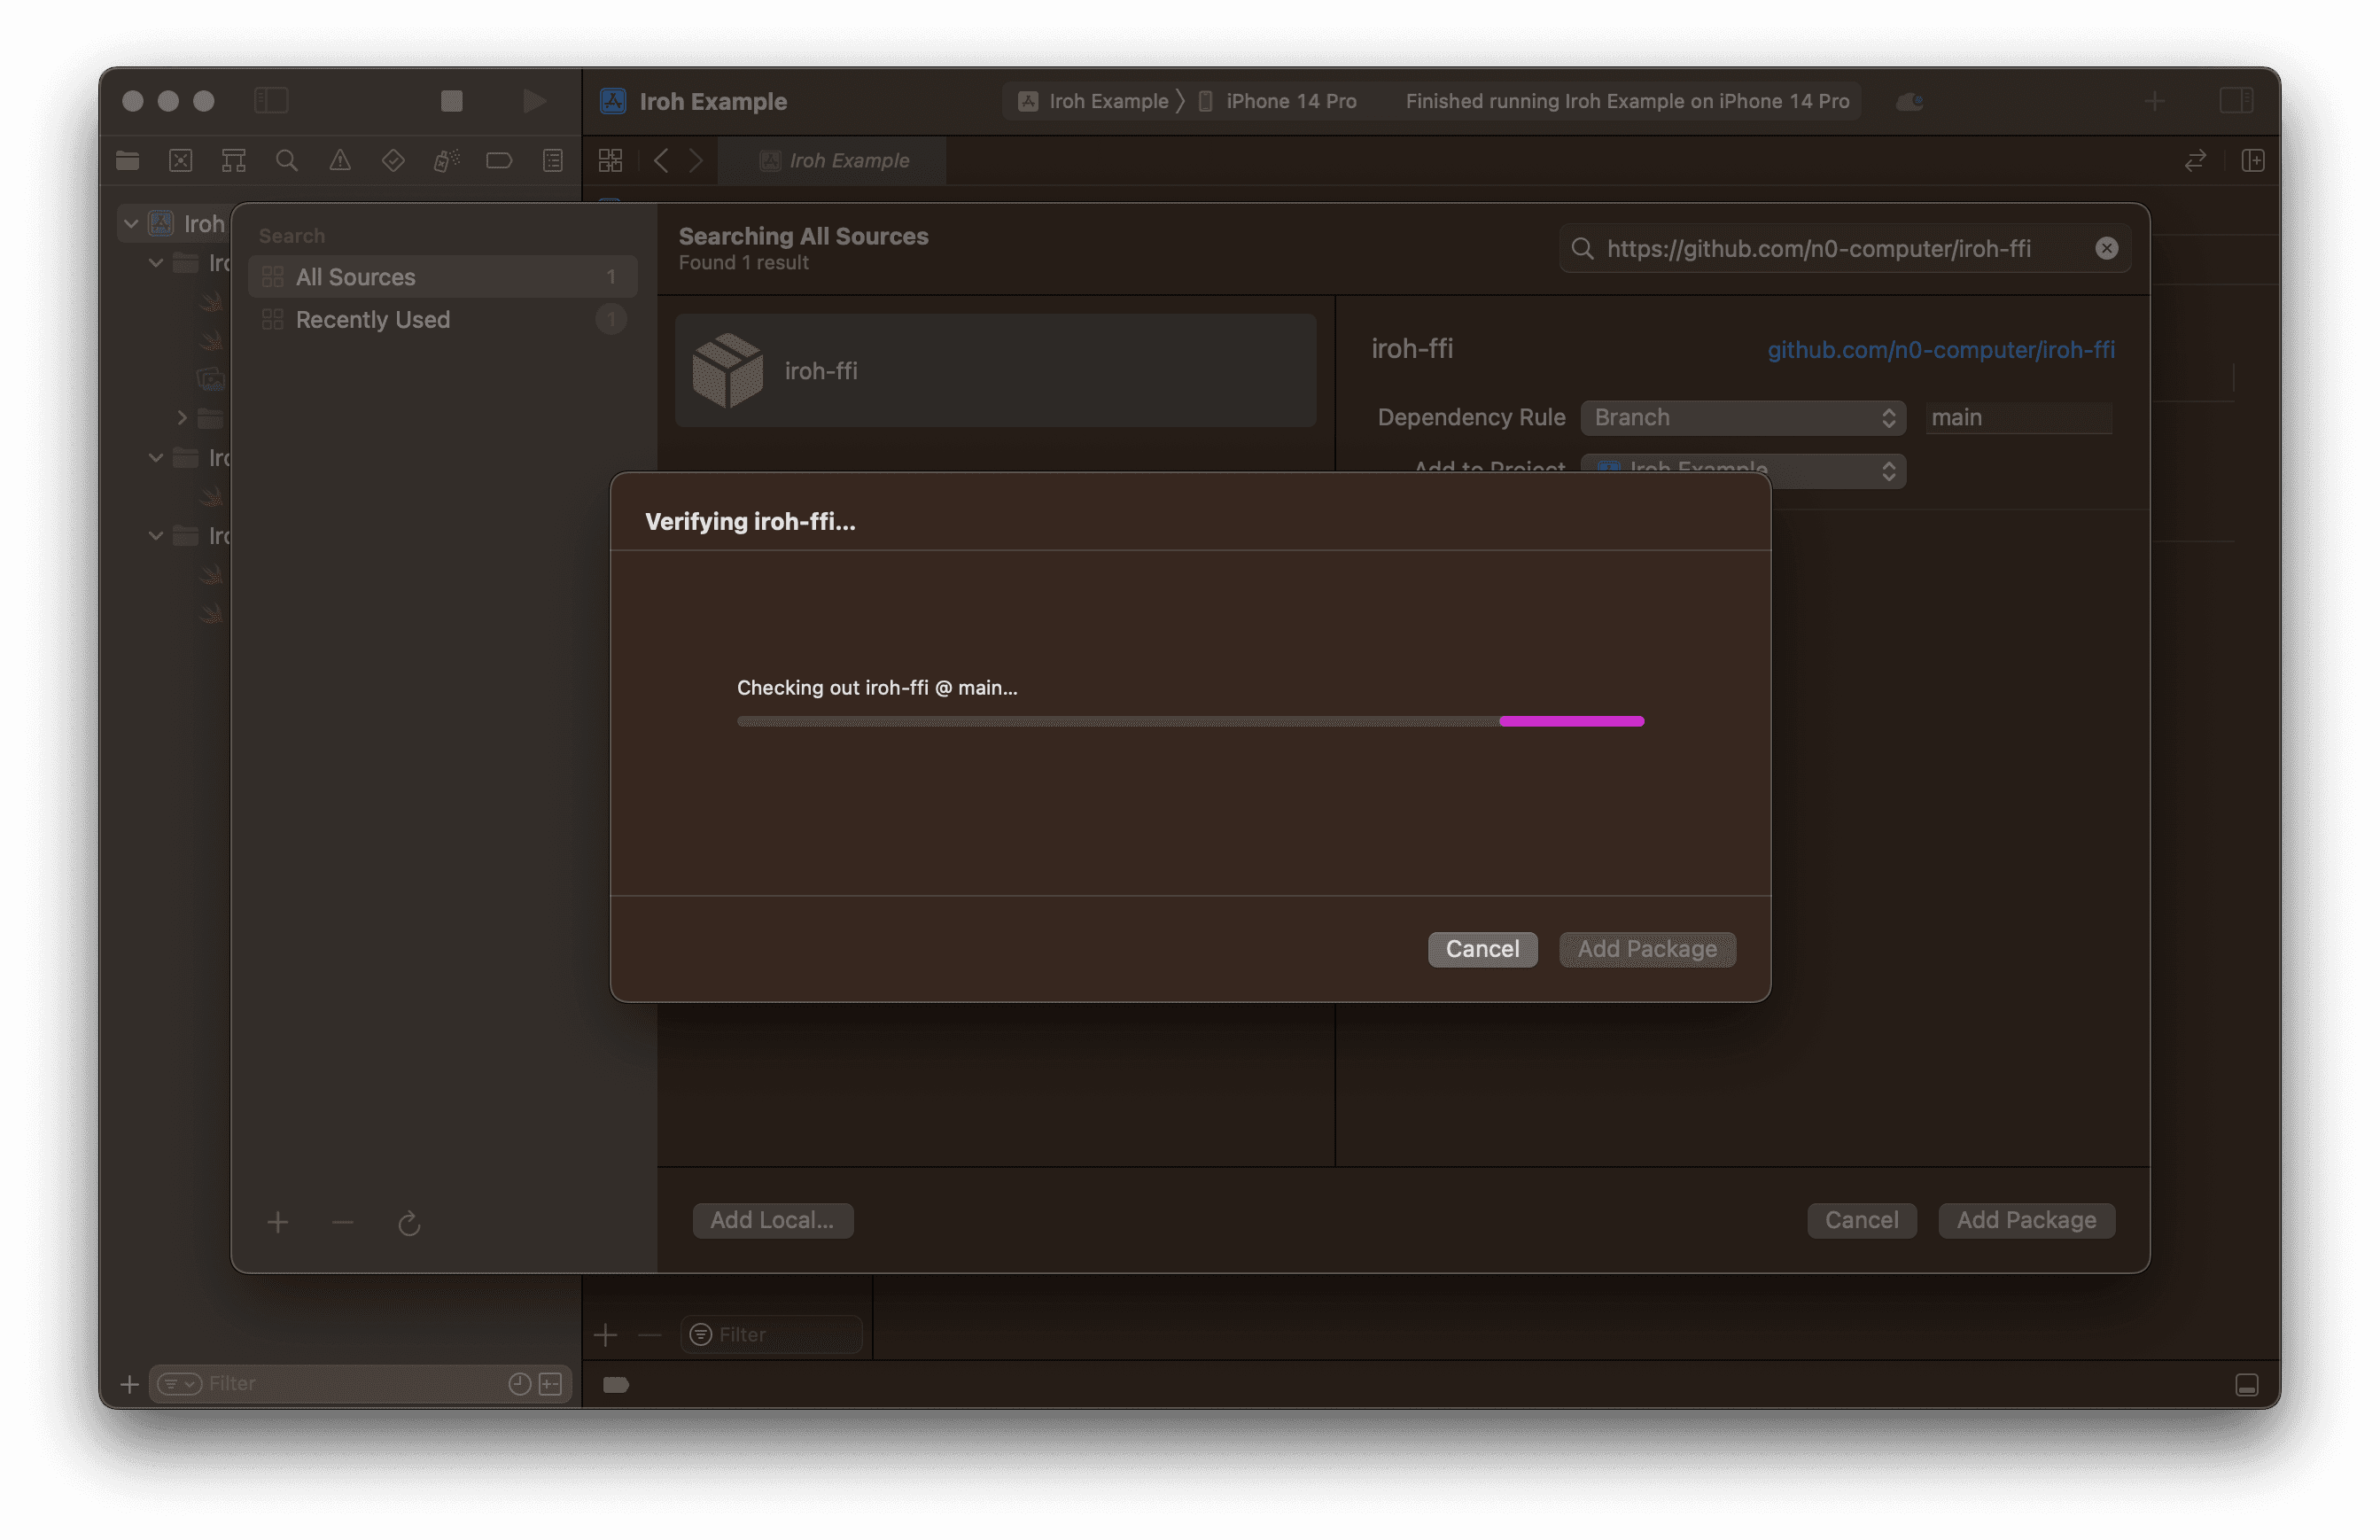
Resolving the package will take at least a minute. Once it's done, you'll see a list of targets to import. Select the IrohLib target and click "Finish".
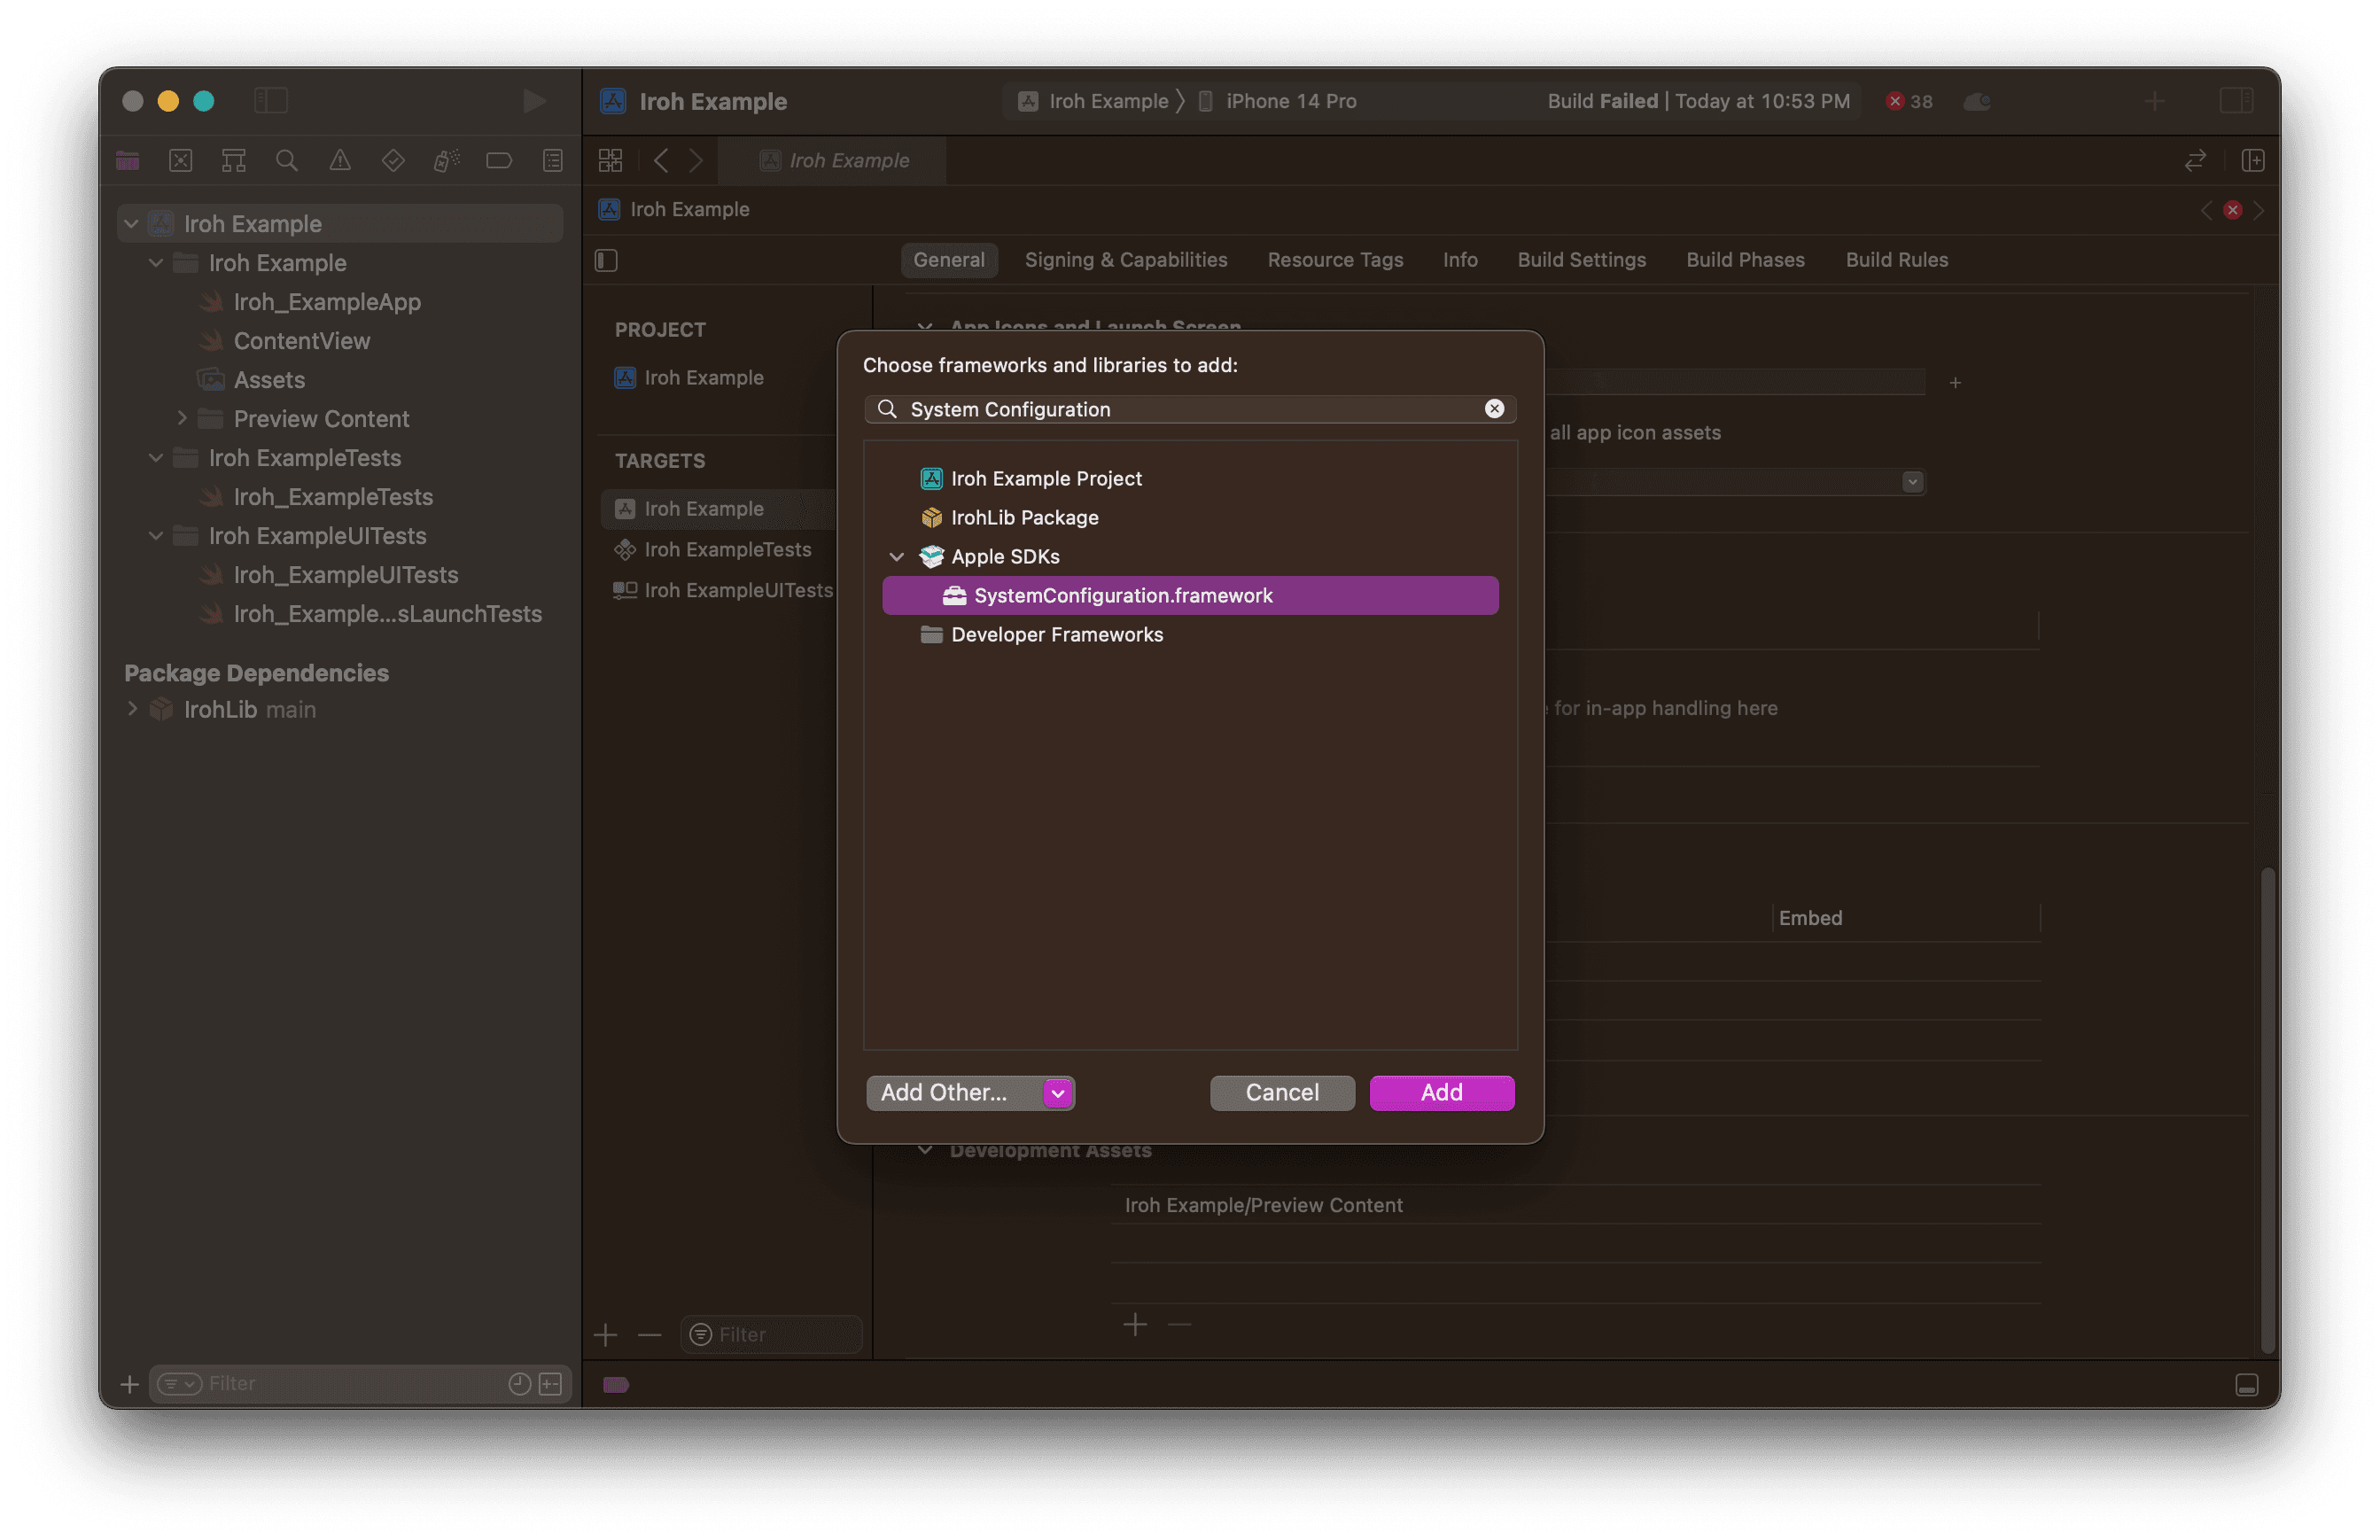
Add the System Configuration framework
Iroh depends on the System Configuration framework, in addition to IrohLib. To add it, click on Iroh Example in the top-left explorer, go to the General tab, and scroll down to build settings. Here we're showing build settings with IrohLib and SystemConfiguration already added:

Click the + button to add a new framework, and search for SystemConfiguration. Select it and click "Add".
Use IrohLib
Next, open up ContentView, and replace the contents with the following:
import SwiftUI
import IrohLib

struct ContentView: View {
  @State var node: IrohNode
  @State private var ticketString: String = ""
  @State private var contentList: String = "No document joined"

  var body: some View {
    let peer_id = node.peerId()

    VStack {
      Text("Hello \(peer_id)")
      TextField("Enter Doc Ticket", text: $ticketString)
      Button("Join Doc") {
        join()
      }
      Text("Current Document: \(contentList)")
    }
    .padding()
  }

  init() {
    _node = .init(wrappedValue: try! IrohNode())
    let _ = print("Starting..")

    let peer_id = node.peerId()
    let _ = print("created iroh node \(node) with peer id \(peer_id)")
  }

  func join() {
    print("joining \(ticketString)")
    let docTicket = try! DocTicket.fromString(content: ticketString)
    let doc = try! node.importDoc(ticket: docTicket)

    DispatchQueue.main.asyncAfter(deadline: .now() + 1) {
      let content = try! doc.latest()
      print("got \(content.count) elements for \(doc.id())")

      let formattedList = content.map { (entry) -> String in
        let content: String = {
          do {
            let c = try doc.getContentBytes(hash: entry.hash())
            return String(decoding: c, as: UTF8.self)
          } catch {
            return "N/A"
          }
        }()
        let key = String(decoding: entry.key(), as: UTF8.self)
        let author_s = entry.author().toString()
        return "Author: \(author_s) wrote '\(key)' -> '\(content)'"
      }.joined(separator: "\n")
      contentList = "\(doc.id()) (\(content.count))\n\n\(formattedList)"
    }
  }
}

struct ContentView_Previews: PreviewProvider {
    static var previews: some View {
      ContentView()
    }
}

extension StringProtocol {
    var data: Data { .init(utf8) }
    var bytes: [UInt8] { .init(utf8) }
}
Create a document from the console
To create a document, we'll use the iroh console. If you haven't already, install the console. Once it's installed, run iroh start in one terminal, and iroh console in another. You should see a prompt like this:
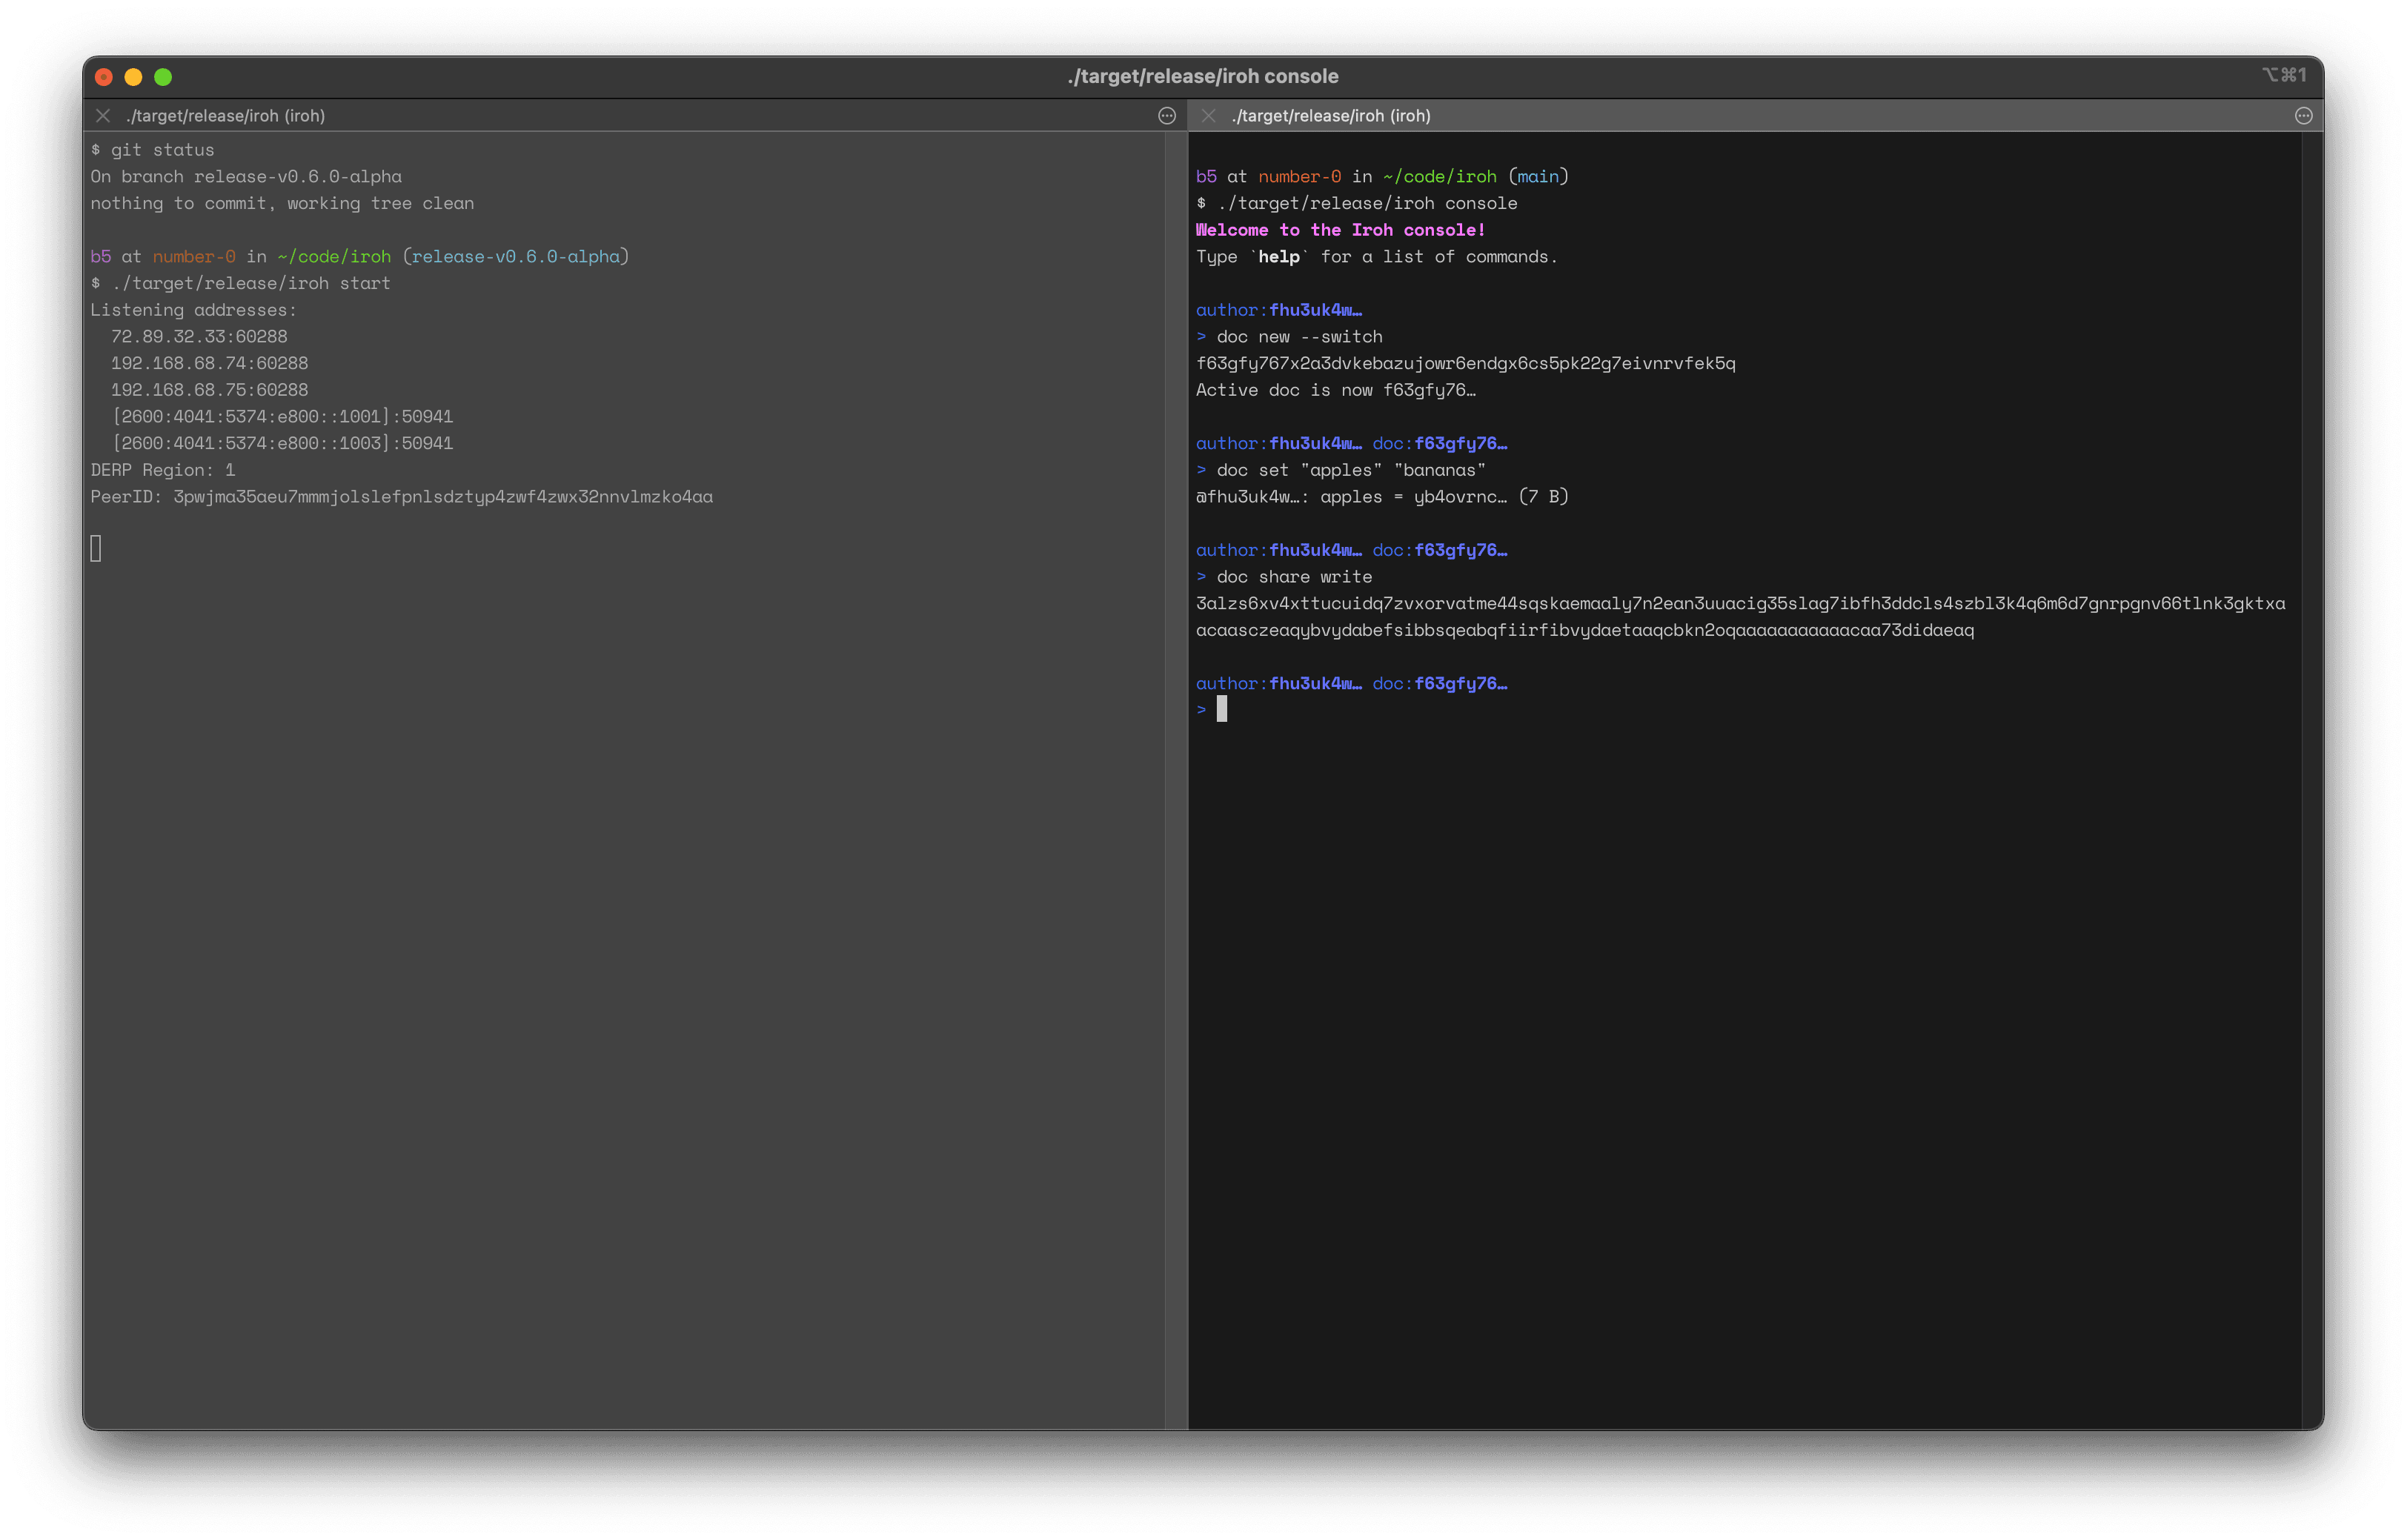
We'll run a few commands in the console to create a document, set an entry, and create a write-access sharing ticket:
author:fhu3uk4w…
> doc new --switch
f63gfy767x2a3dvkebazujowr6endgx6cs5pk22g7eivnrvfek5q
Active doc is now f63gfy76…

author:fhu3uk4w… doc:f63gfy76…
> doc set "apples" "bananas"
@fhu3uk4w…: apples = yb4ovrnc… (7 B)

author:fhu3uk4w… doc:f63gfy76…
> doc share write
3alzs6xv4xttucuid...
Join the document from the app
Now that we have a document, we can join it from the app. Run the app in the simulator by clicking the play button in the top left corner of Xcode. Once you do, paste the ticket from the console into the text field and click "Join Doc". You should see the document's contents appear in the text box below:
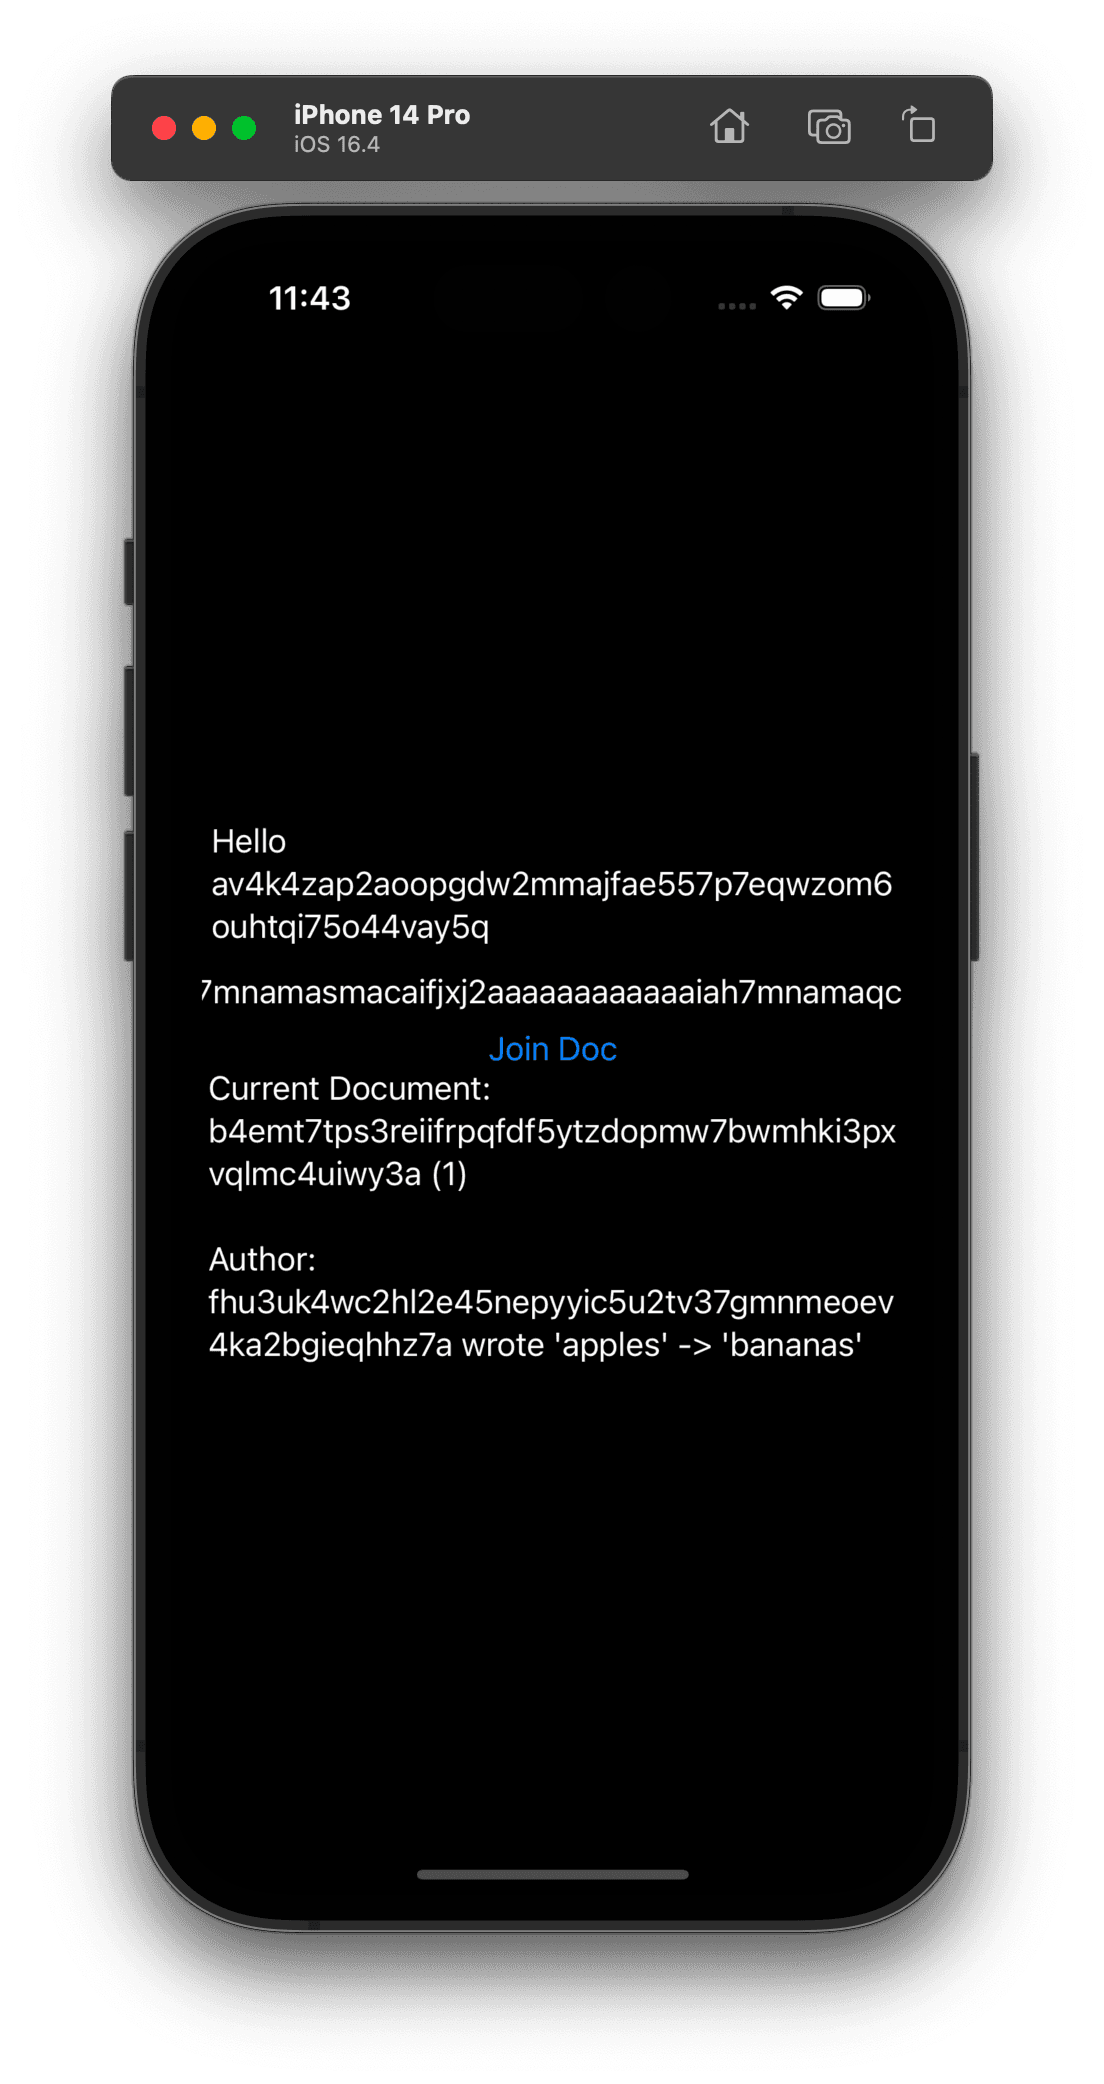
Congrats! You're up & running with iroh on iOS. You can now use the iroh console to add more entries to the document, and see them appear in the app.